
Integrating and Setting Up Xero

Integrating Xero with CashWise exponentially simplifies workflows. Once integrated, you have additional capabilities including fully automated payouts directly from Xero to businesses and individuals.
Connecting Xero to CashWise
- To add a Xero connection, navigate to Account Settings -> Integrations and scroll down to the Applications section, then click Add.

- Then select on Xero and Connect:

- You'll be forwarded to the Xero login page where you'll be asked to Select an Organisation and Allow Access.

- You may be prompted to enter your Xero login credentials, then you'll see a confirmation of the integration.


Configuring Xero in CashWise
Part 2 of the Xero Integration is to configure Xero and perform some account mapping.

- Payout Mode
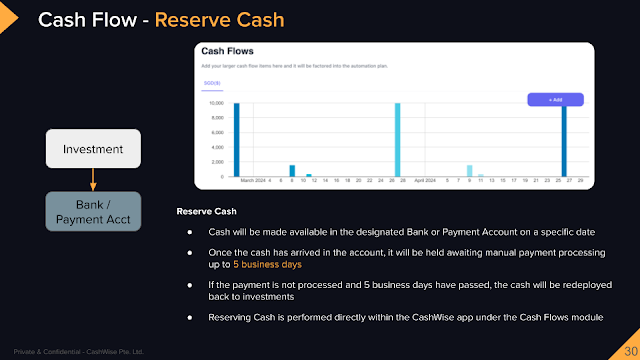
There are 2 modes of operation in for the Xero integration with regards to bill payments. Bills flow through several state changes as they progress through Xero. States include: draft, awaiting approval, approved, awaiting payment and finally paid. Once the bill status is set to paid, a notification is sent to CashWise with the details. The mode dictates how CashWise will handle the notification. - Reserve Cash Only - This means that CashWise will load the bill payment into the Cash Flow as a Reserve Cash item. Doing this, CashWise is aware of the transaction and will make cash available in the specified account on by the payment date. On the date the payment is to be made, you will need to take manual action in the bank / payment platform to make the payment.
- Enable automated payouts - If this is selected, CashWise will will load the bill payment into the Cash Flow as a Reserve Cash item, then on the payment date, CashWise will automatically make the payment to the designated recipient. As a safety precaution, the recipient must be pre-existing in the underlying bank / payment platform.


- Transactional Account Mapping
On the left side are the existing accounts in CashWise connected via APIs, on the right, you will need to select the corresponding account in Xero. Click 🔄 to refresh the account list if necessary. The reason for the mapping is that the CashWise account name may not exactly match the Xero name, therefore a one time mapping exercise is required.
- When mapping is complete, just click Create.


